
How Blinds Are Installed Without Disruption to Your Home
- WINDOWCOVERINGWIZARD
- Jun 20
- 7 min read
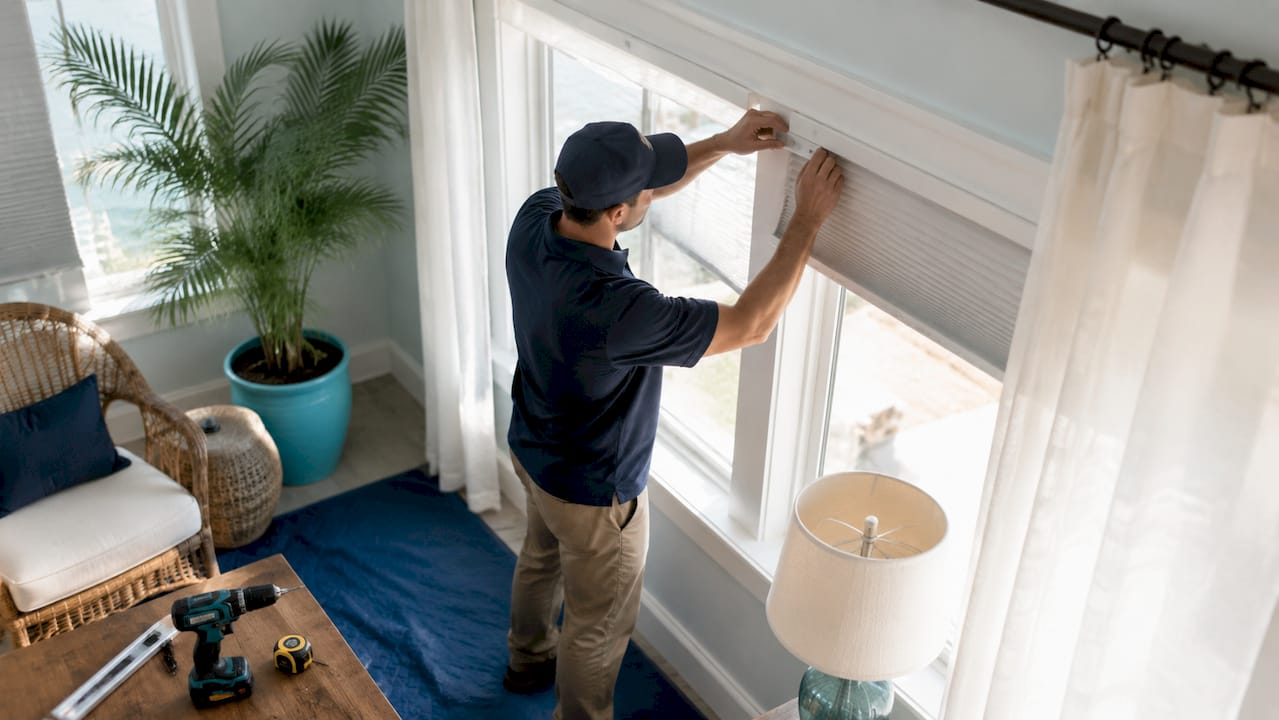
Disruption-free blind installation is the practice of fitting window treatments without causing dust, wall damage, noise, or room downtime. Battery-powered motors, no-drill mounting systems, and professional dust extraction tools make this possible in finished, occupied spaces. Knowing how blinds are installed without disruption helps homeowners protect their interiors and gives renters a damage-free path to privacy and light control. The right method depends on your window type, wall material, and whether you want a DIY approach or a professional fitting.
What are the most effective non-disruptive installation methods?
The four main methods for a disruption-free blinds setup are battery-powered motors, adhesive brackets, tension rods, and magnetic or clip-on mounts. Each one avoids drilling into walls or chasing cables through plaster, which is the primary source of mess and damage in traditional installations.
Battery-powered motorized blinds are the most capable option. Battery-powered motors eliminate the need for wall cutting or electrician visits entirely. You mount the headrail with standard surface brackets, insert the battery pack, and pair the remote. No wiring runs through your walls.
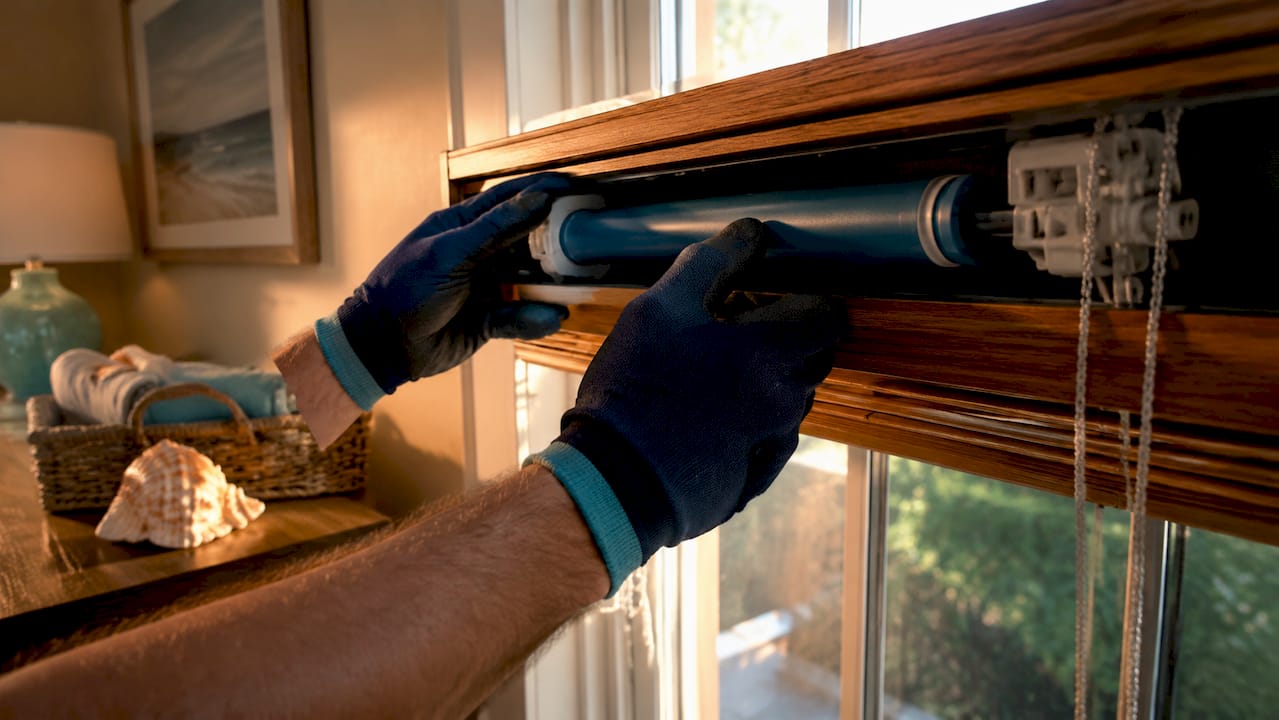
No-drill adhesive and tension systems suit renters perfectly. Adhesive brackets, tension rods, and magnetic mounts allow easy, damage-free installs with no tools required. The key requirement is a clean, flat surface. Adhesive brackets need 24–48 hours to cure before you hang any weight on them.
Pro Tip: Clean the window frame with isopropyl alcohol before applying any adhesive bracket. Dust and grease cut holding strength significantly, and a failed bracket mid-week is far more disruptive than taking five extra minutes at the start.
Here is a quick comparison of the four main methods:
Method | Best For | Drill Required | Key Limitation |
Battery-powered motor | Homeowners, smart homes | No | Annual recharge needed |
Adhesive brackets | Renters, light blinds | No | Weight limit per bracket |
Tension rods | Sheer or lightweight panels | No | Limited to inside mounts |
Clip-on and hook systems | Temporary or seasonal use | No | Not suited for heavy blinds |
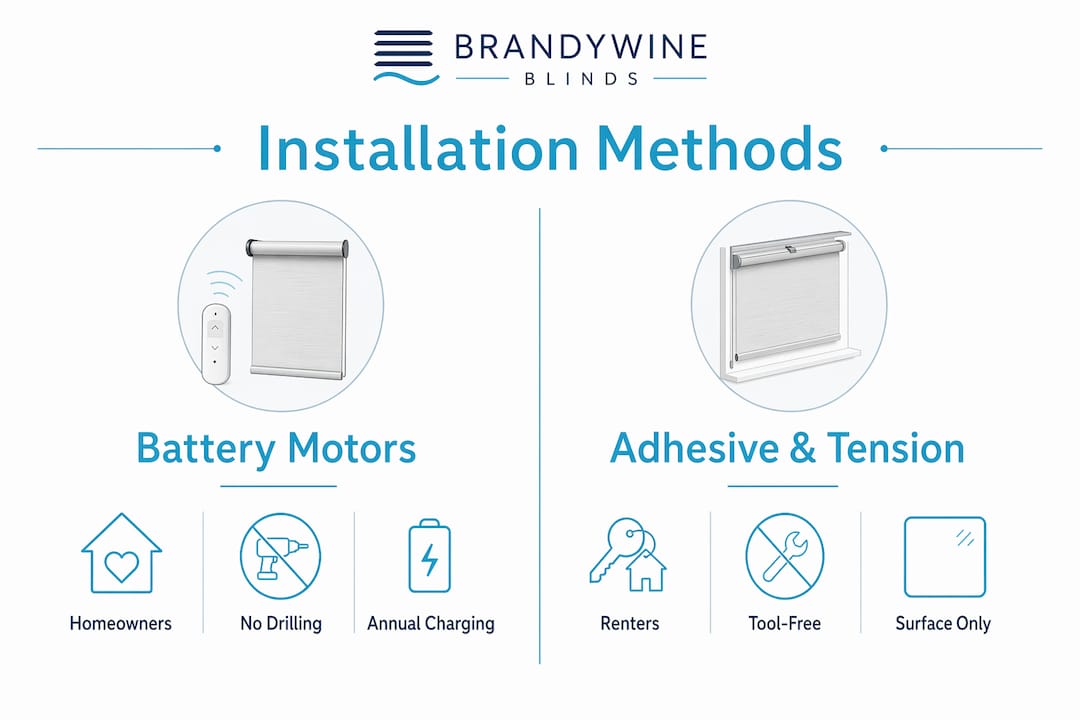
The trade-off with battery systems is maintenance. Batteries typically require recharging once per year, and some systems support optional solar trickle charging to reduce that further. That is a minor inconvenience compared to the alternative: cutting channels through finished plaster.
How do specialists keep blind installation clean and quiet?
Professional installers treat your home as a finished space, not a construction site. Specialist blind installation begins with a thorough onsite survey that catches architectural quirks before the fitting day. That survey prevents last-minute improvised fixes, which are the most common source of unexpected damage.
The professional process for a clean, quiet installation follows this sequence:
Pre-installation survey. The installer measures each window at multiple points and notes wall material, reveal depth, and any obstructions. Tolerances are held to 1/8 inch to prevent abrasion or jamming after fitting.
Surface protection. Heavy-duty floor coverings and carpet protectors go down before any tool touches a wall. This step is non-negotiable in a white glove service.
Dust extraction at the source. Installers use dust extraction tools that capture debris as it is created, meeting Health and Safety Executive recommendations for clean indoor environments. Dust never settles on furniture or flooring.
Mounting and fitting. Brackets go up, the headrail clicks into place, and the installer checks operation before moving to the next window.
Final handover. The installer removes all protective coverings, wipes down surfaces, and walks you through operation and care.
“A white glove service mentality with dust control and home protection differentiates professional blind installation from DIY chaos.” — WindowTreat
Pro Tip: Ask your installer whether they carry public liability insurance before booking. Reputable specialists carry substantial coverage, which protects you if anything goes wrong with your walls, floors, or furnishings during the fitting.
This level of preparation is why professional blind installation consistently outperforms DIY in finished homes. The survey alone prevents the majority of on-site surprises.
What measurement tips prevent damage when fitting blinds?
Accurate measurement is the single most preventable source of installation disruption. A blind that is too wide scrapes the frame on every operation. One that is too narrow lets light flood in and may fall out of its brackets entirely.
Follow these steps to measure correctly and avoid damage:
Measure width at three heights. Take readings at the top, middle, and bottom of the window opening. Use the narrowest dimension for inside-mount blinds to achieve a proper fit without risking frame or mechanism damage.
Measure height at three widths. Take readings at the left, center, and right. Use the longest dimension for inside mounts so the blind reaches the sill.
Clean the frame before mounting. Wipe the reveal with a damp cloth and let it dry fully. Dust and moisture prevent adhesive brackets from bonding correctly.
Mark bracket positions with painter’s tape. Painter’s tape leaves no residue and lets you reposition before committing. Standard pencil marks on painted frames are harder to remove cleanly.
Check for square. Hold a level against the top of the reveal. A window that is out of square by more than 1/4 inch will cause the blind to hang visibly crooked.
The most common homeowner mistake is measuring only once at the widest point. That single error leads to a blind that binds against the frame, damages the mechanism, and requires a full replacement order. Measuring three times at each dimension takes under five minutes and eliminates that risk entirely.
How do motorized blinds make installation easier?
Motorized blinds have changed the calculus on electric window treatments. The old assumption was that powered blinds required an electrician, conduit runs, and at minimum a half-day of wall work. That assumption is now wrong.
Battery-powered motors provide full automation without any structural disruption. The motor sits inside the headrail. You mount the headrail with standard surface brackets, the same way you would mount a manual blind. No wall is opened. No electrician is needed.
Feature | Battery-Powered Motor | Hard-Wired Motor |
Wall modification needed | None | Yes, cable chasing required |
Electrician required | No | Yes |
Installation time | Hours | Half day or more |
Recharge or maintenance | Once yearly | None after install |
Smart home compatibility | Yes, via RF or Wi-Fi | Yes |
Smart home integration adds another layer of convenience after the fitting. Most battery-powered systems pair with Amazon Alexa, Google Home, or Apple HomeKit via RF or Wi-Fi bridges. Smart blinds installation includes app setup and calibration, and technicians leave the area spotless after guiding homeowners through operation. The entire process typically completes in a few hours.
Pro Tip: If your windows get direct sun for most of the day, ask about solar trickle charging accessories. A small solar strip on the headrail keeps the battery topped up year-round and eliminates the annual recharge entirely.
For homeowners who want to understand the full range of options, a motorized blinds guide covers how these systems work, what smart integrations are available, and how to choose the right motor weight class for your blind size.
Key Takeaways
Disruption-free blind installation relies on choosing the right mounting method, measuring accurately, and using professional dust control from start to finish.
Point | Details |
Battery motors eliminate wall work | Motorized blinds install with surface brackets only, no electrician or wall cutting required. |
No-drill methods protect rental properties | Adhesive brackets, tension rods, and clip-on systems leave zero damage on window frames. |
Measure at three points per dimension | Always use the narrowest width measurement for inside mounts to prevent binding or damage. |
Professional dust extraction matters | On-tool dust capture keeps debris off floors and furniture throughout the fitting process. |
Pre-installation surveys prevent surprises | A detailed onsite survey catches window quirks before fitting day, avoiding costly improvised fixes. |
What I’ve learned after watching hundreds of blind installations
Most homeowners underestimate how much of a clean installation comes down to preparation rather than skill. The actual mounting of a blind headrail takes minutes. What takes time, and what separates a truly disruption-free result from a frustrating afternoon, is everything that happens before the first bracket goes up.
I have watched homeowners skip the measurement step, assume their windows are square, and end up with a blind that grinds against the frame every time they raise it. I have also seen renters apply adhesive brackets to dusty frames, wait two hours instead of 24, and pull a chunk of paint off the wall when the blind eventually falls. Both situations are completely avoidable.
The shift to battery-powered motors has genuinely changed what is possible in finished homes. Five years ago, if a client wanted motorized blinds in a room with no accessible wiring, the conversation involved electricians, plaster repair, and repainting. Now that same client gets a fully automated system installed in a morning, with no mess and no trades beyond the blind fitter. That is a real improvement in how turnkey blind installation works for homeowners, and it is worth understanding before you commit to any approach.
My honest advice: if you are in a finished, decorated room, do not treat the installation as a casual DIY project. Use a professional who brings dust extraction equipment and floor protection. The cost difference is small. The difference in outcome is not.
— Dave
How Brandywineblinds installs blinds without disrupting your home
Brandywineblinds serves homeowners and renters across West Chester, Downingtown, and Chester County, PA with professional blind fittings that protect your home from start to finish. Every installation begins with an in-home measurement visit and ends with a spotless room and a lifetime service warranty.

The product range covers vertical blinds, cellular shades, layered shades, plantation shutters, and motorized options across all categories. Brandywineblinds eliminates corporate overhead and franchise fees, delivering custom window treatments at rates often 30% lower than big box competitors. With over 30 years of local experience, the team brings the tools, the expertise, and the care your finished home deserves. Contact Brandywineblinds for a free consultation and see what a truly clean installation looks like.
FAQ
What does disruption-free blind installation actually mean?
Disruption-free installation means fitting blinds without causing dust, wall damage, noise, or room downtime. It relies on battery-powered motors, no-drill mounting systems, and professional dust extraction tools.
Can renters install blinds without damaging walls?
Yes. Adhesive brackets, tension rods, and magnetic mounts allow renters to hang blinds without drilling. Clean the frame surface thoroughly and allow full adhesive cure time before loading any weight.
How often do battery-powered blind motors need recharging?
Battery recharge is typically required once per year under normal use. Systems with optional solar trickle charging accessories can extend that interval indefinitely.
Why does measuring at multiple points matter for blind installation?
Windows are rarely perfectly square. Using the narrowest width measurement for inside mounts prevents the blind from binding against the frame or damaging its mechanism during operation.
What should I expect from a professional blind installation visit?
A professional visit includes an onsite survey, surface protection, dust extraction during drilling, and a full handover walkthrough. Specialist installations typically complete within a few hours and leave the room in the same condition as before the fitter arrived.
Recommended
Comments